
Sensory Tools for Occupational Therapy Practice: A Guide
Table of Contents
What Sensory Tools Do in Occupational Therapy Practice
The Eight Sensory Systems at a Glance
Sensory Activities for Occupational Therapy Sessions
Matching Activities to Therapy Goals
How to Choose Sensory Tools for Children
Tool Selection by Sensory Profile
Fine Motor Sensory Activities That Build Dexterity
Sensory Tools for the Classroom
Safety, Supervision, and Contraindications
Measuring Outcomes and Documenting Progress
Conclusion
Frequently Asked Questions
Last Updated: October 17, 2026
What Sensory Tools Do in Occupational Therapy Practice
Sensory tools let occupational therapists shape the input a client's nervous system receives, then watch the response. Handcrafted tactile games are built on the same principle: controlled touch input, repeated practice, visible progress. The category spans fidget toys, weighted lap pads, textured materials, kinetic sand, and bean bins.
The work itself is structured. An occupational therapist assesses how a child processes touch, movement, sound, and sight, then designs sensory activities that either calm an over-reactive system or wake up an under-reactive one. The American Occupational Therapy Association's practice framework describes this as using meaningful activity as the therapeutic medium, which is why a good session looks like play and functions like treatment.
That distinction matters. A toy entertains. A tool targets a goal.
The Eight Sensory Systems at a Glance
Most people count five senses. Occupational therapy works with eight:
Tactile (touch): texture, pressure, temperature
Vestibular (movement and balance): swinging, spinning, tilting
Proprioceptive (body awareness): pushing, pulling, deep pressure
Sensory integration is how the brain organizes input from these systems into a usable response. When it is inefficient, daily tasks get harder: handwriting, sitting through a meal, tolerating a shirt collar tag.
Key Takeaway Before buying anything, name the system you're targeting. A tool chosen for tactile defensiveness does different work than one chosen for proprioceptive seeking, and mixing them up wastes both money and therapy time.
Sensory Activities for Occupational Therapy Sessions
Effective sensory activities for occupational therapy share three traits: they target one system clearly, they're repeatable, and they produce an observable response.
Consider a simple texture sort. The client reaches into a bin of mixed fabrics and pulls out pieces by feel alone, naming each one.
Movement activities work the same way. An obstacle course built from cushions and tape delivers vestibular and proprioceptive input while demanding motor planning.
Matching Activities to Therapy Goals
The matching step is where most home programs go wrong: parents buy a popular toy and hope. Therapists match instead:
Goal | Sensory System | Tool Type | What Progress Looks Like |
Tolerate varied textures | Tactile | Textured materials, fabric games | Client handles new textures without withdrawal |
Improve pincer grasp | Tactile + fine motor | Small manipulatives, tongs, putty | Cleaner grasp, less hand fatigue |
Regulate before desk work | Proprioceptive | Weighted items, deep pressure tools | Settled posture, longer attention |
Build balance and coordination | Vestibular | Swings, balance boards | Steadier transitions, less fear of movement |
Sharpen visual attention | Visual | Sorting, matching, tracking games | Faster, more accurate visual search |
Print that table, fill in the goal with the treating therapist, and the tool decision gets much simpler.
How to Choose Sensory Tools for Children
Choosing sensory tools for children starts with the child's sensory profile, not the product catalog. A tool that calms one child can overwhelm another, and good reviews don't change that.
Ask three questions before buying:
What does the therapist want to change? Get the goal in writing. "Better fine motor control" and "fewer meltdowns at transitions" lead to different purchases.
Is the child a seeker or an avoider? Seekers want more input and benefit from textured materials, movement, and resistance. Avoiders need low-intensity, predictable input introduced gradually.
Can it survive daily use? Durability matters more than novelty. Soft flannel, solid wood, and washable surfaces outlast trendy plastic.
Tool Selection by Sensory Profile
Match the tool to the profile, then test in short sessions:
Tactile avoider: start with one texture at a time, dry materials before messy ones, and let the child control the pace.
Tactile seeker: fabric games, textured puzzles, and bean bins absorb input and hold attention.
Proprioceptive seeker: resistance bands, heavy work tasks, and squeeze tools deliver the deep pressure this child craves.
A common mistake is buying for the diagnosis instead of the individual. Two children with the same label often need opposite tools.
Fine Motor Sensory Activities That Build Dexterity
Fine motor sensory activities build dexterity through repeated, resisted hand movement paired with touch input: texture tells the fingers where they are, and resistance builds the strength to stay there.

Practical options we recommend:
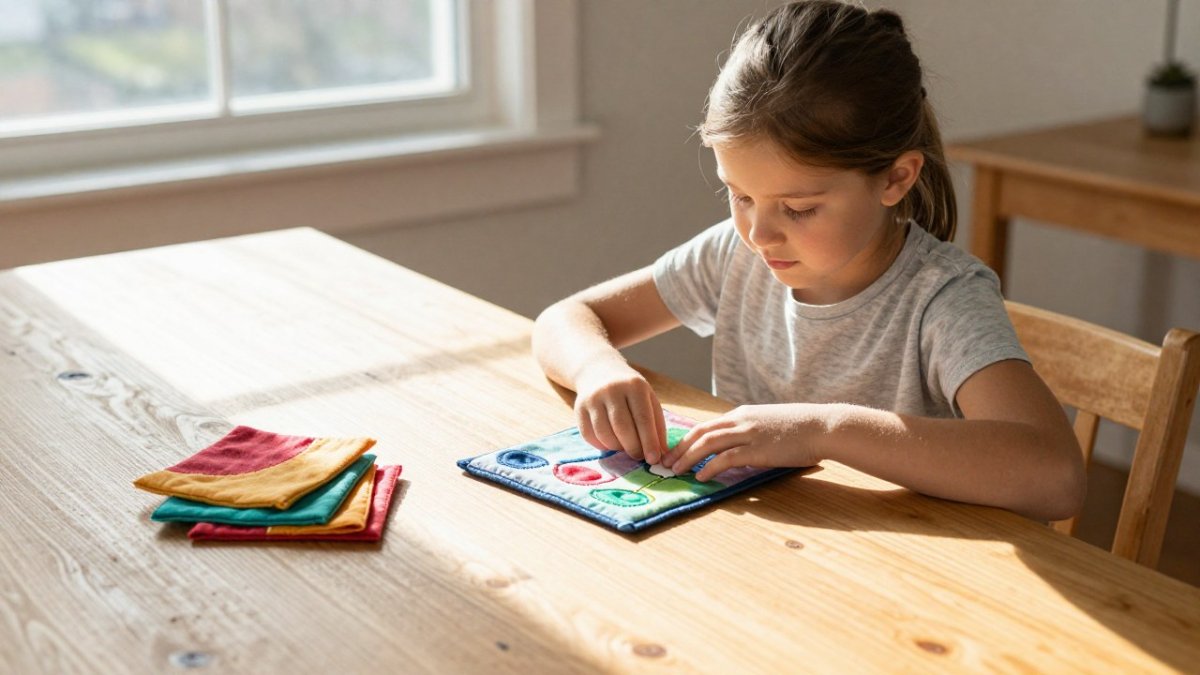
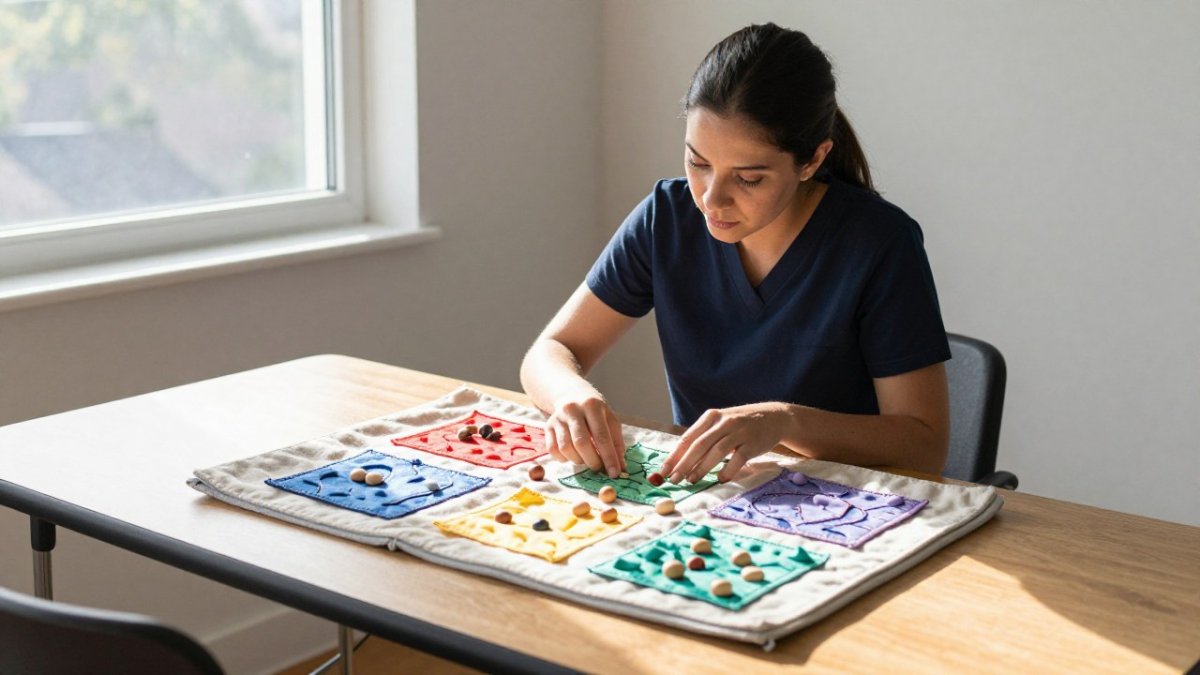
Fabric matching games. Soft flannel pieces invite pinching, lifting, and turning. Handcrafted games sewn from American flannel are designed for this kind of repeated handling, and the tactile feedback keeps children engaged long enough to practice.
Kinetic sand and water play. Scooping and pouring build hand-eye coordination and grading of force.
Finger painting and putty. Resistance work for the small muscles of the hand.
Finger dexterity grows through repetition, not intensity. Ten minutes daily beats an hour on Saturday.
Sensory Tools for the Classroom
Sensory tools for the classroom must support learning without disrupting it, which rules out anything loud, messy, or visually distracting during instruction.
The classroom is also where sensory tools are most often misused. A clinic session has one adult, one child, and a clear goal; a classroom has one adult, twenty-plus children, and a schedule that doesn't pause for regulation.
What works in practice, and why:
Fidget toys kept in a pocket or under the desk. Silent, small, and out of sight. A low-level movement outlet occupies the part of the nervous system otherwise seeking input, freeing attention for instruction. The trade-off: fidgets only help children who can use them without watching them. A fidget that becomes the main event has stopped being a tool.
Textured seat cushions. For children who need movement input while seated, a bumpy or slightly unstable surface delivers proprioceptive and vestibular feedback through the hips and trunk. The trade-off is fit: a cushion that is too thick changes desk height and posture, so check that the child's feet still reach the floor and the writing surface stays at the right level.
Chewable items. For oral seekers who otherwise chew pencils, sleeves, or shirt collars, a dedicated chewable redirects the behavior to a safe object. The trade-off is hygiene and durability: chewables need a cleaning routine and replacement schedule, and they come off the moment a child has a loose tooth or dental work.
Teachers don't need a diagnosis to use these well, just a clear rule: the tool stays in the child's space, serves attention, and comes out when it stops helping. A three-part check works for most classrooms:
Does the tool have a job? Name the behavior it supports (sitting through circle time, tolerating the cafeteria, finishing a writing block).
Does it stay quiet and contained? If it makes noise, sheds pieces, or rolls across the floor, it is not a classroom tool.
Is there an exit rule? Decide in advance when the tool goes away, and make that rule about the tool, not about the child's behavior.
Watch Out Never introduce a new sensory tool during a high-stakes moment like a test or a new classroom. Test it during low-demand time first, or you'll teach the child to associate the tool with stress.
Finally, tools should be introduced with the treating therapist's input, not chosen by a teacher or parent alone. The therapist knows the sensory profile and goal; the teacher knows the room. The best decisions come from that conversation, written down so the next adult can follow the same plan.
Safety, Supervision, and Contraindications
Safety comes before selection. In the United States, children's products should carry a Children's Product Certificate confirming compliance with federal safety rules, and the Consumer Product Safety Commission's guidance on children's product certification explains what that certificate covers.
Supervision rules that hold across settings:
Vestibular tools (swings, spinners) require a trained adult and a stop signal the child knows.
Oral tools come off the moment a child has a loose tooth or dental work.
Weighted items need a therapist-set weight and time limit, not guesswork.
Contraindications exist too. Children with certain medical conditions, recent injuries, or seizure disorders need clearance before movement-based equipment. When in doubt, the treating therapist decides.
Measuring Outcomes and Documenting Progress
Progress measurement separates therapy from guesswork, and it's the part most home and classroom programs skip.
Set a baseline before the tool arrives, then track the same behavior on a schedule. A workable method:
Define the target behavior in observable terms. "Puts on a shirt with a tag without removing it" beats "tolerates clothing." "Completes a five-minute writing block without leaving the seat" beats "better attention." If two adults could not agree on whether the behavior happened, the definition is too vague.
Choose a measurement that fits the behavior. Frequency (how many times per day), duration (how long the behavior lasts), latency (how long before the behavior starts), and intensity (a simple 1-5 rating) cover most sensory goals. Pick one and stay with it.
Count or time it at baseline. Three to five data points across different days give a more honest starting line than a single observation.
Re-measure weekly using the same conditions. Same time of day, same setting, same instructions. If the conditions change, the comparison is not clean.
Record the child's response, not just the outcome. Did the tool calm, alert, or overwhelm? A tool that produces the right behavior at the cost of a distressed child is not working.
Review at four to six weeks. If there's no movement, change the tool, not the goal. If there is movement, keep going and consider fading the tool to build independence.
Documentation should note the tool, duration, response, and any adjustment. A short entry works: date, tool, time on task, observed response, and one line on what changed.
In practice, the setup, not the child, explains most swings in results: a different chair, a noisier room, a missed snack, a substitute teacher.
Pro Tip Photograph or note the exact setup each time. When results swing, the setup is usually what changed, not the child.
One honest limit: sensory tools are not a substitute for individualized clinical intervention, and progress on a tool is not progress on a goal. A child can master a texture game without tolerating a shirt collar. Track the daily-life behavior the family cares about, with the tool as one input among several, that's the difference between a tool that looks like it's working and one that is.
Conclusion
The hardest part of building a sensory toolkit isn't finding products. It's matching each one to a real goal, using it consistently, and knowing when to change course. Most families and classrooms already own more sensory items than they use well.
Witzkan creates handcrafted tactile games sewn from soft American flannel, US child safety certified and designed for inclusive play from ages three to 103.
Frequently Asked Questions
What sensory tools do occupational therapists use?
Occupational therapists use tools that target specific sensory systems: tactile items like textured fabrics, kinetic sand, and bean bins; proprioceptive tools such as weighted lap pads and resistance bands; vestibular equipment like swings and balance boards; and visual or auditory aids including light filters and noise-reducing headphones. Fidget toys, sensory boards, and handcrafted tactile games round out many kits. The right mix depends on each client's sensory profile and therapy goals, not on buying every category available.
How do occupational therapists choose sensory tools for a child?
Start with an assessment of how the child responds to touch, movement, sound, and visual input. Note whether they seek or avoid each type. Then match tools to functional goals: a child working on fine motor skills needs manipulatives with resistance and precision, while a child who becomes overstimulated needs calming, predictable tactile input. Test one tool at a time, watch for regulation changes, and keep a simple log so you can tell whether the tool is helping.
Are sensory tools appropriate for classroom use?
Yes, when chosen carefully. Sensory tools for the classroom should be quiet, low-distraction, and easy to clean. Fidget tools, textured pencil grips, and soft tactile games work well because they support attention without pulling focus from instruction. Avoid tools that make noise or require a lot of space. Coordinate with the school-based occupational therapist and set clear rules for when tools are available so they stay a regulation aid rather than a toy.
How do you use sensory tools safely with children?
Supervise according to the child's age and needs, and check manufacturer age ratings before use. Inspect tools regularly for loose parts, worn seams, or cracked plastic, and remove anything damaged. Confirm the product carries a Children's Product Certificate under US Consumer Product Safety Commission rules, which shows it passed required third-party testing. Never use tools as rewards or punishments, and stop immediately if a child shows signs of distress or overstimulation.
How can sensory activities be used during an occupational therapy session?
Build activities into the session arc rather than tacking them on. Use movement or heavy-work activities at the start to help a child settle, then move to fine motor tasks that require focus, and finish with calming tactile input. Keep each activity short, usually five to ten minutes, and watch for signs of fatigue or overload. Document what you used and how the child responded so the next session can build on what worked.
Explore Our Designs

Comments